

Drive-in nut Galvanized M 10 for climbing holds climbing wall - bouldering wall
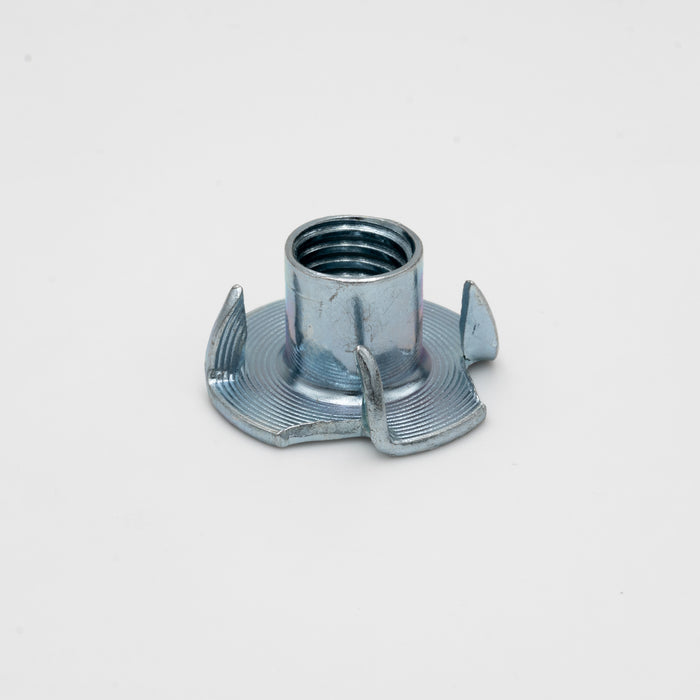
Drive-in nut Galvanized M10
Drive-in nuts are required for mounting climbing holds on a wooden wall. The drive-in nuts act as a counterpart to the hexagon socket screws.
Important note on the quality of drive-in nuts:
Please also note that we carry high quality impact nuts which weigh almost 8g each, almost all other suppliers have impact nuts which weigh 6.7g each. The problem here is that these are twisted off at a load of approx. 30 NM, this load can quickly occur when climbing holds are attached.
Therefore, compare not only the price but also the quality.
Characteristics:
- four prongs
- Material: Galvanized steel
- metric internal thread M10
- Cylinder head screw DIN EN ISO 4762 - M10 (DIN 912)
- Countersunk screw DIN EN ISO 10642 - M10 (DIN 7991)
Standard nuts for attaching climbing holds!
Assembly:
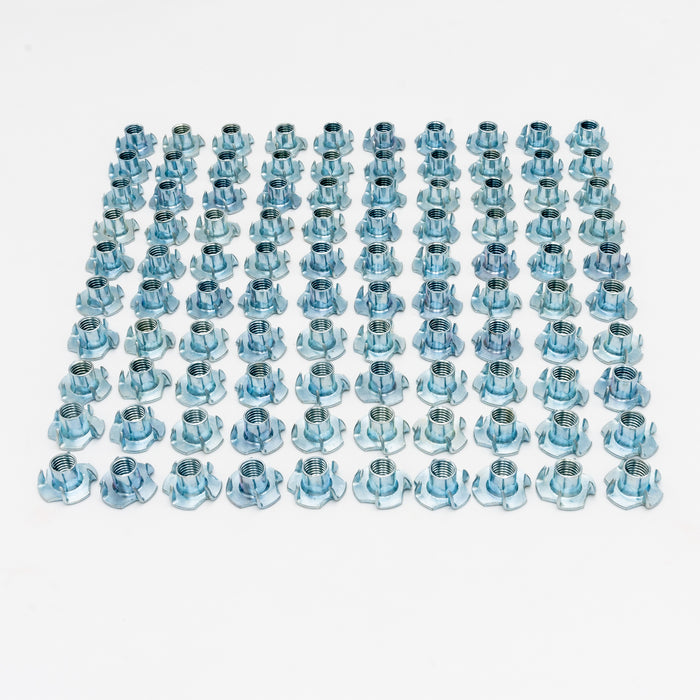
As a first step, create a grid and mark all the places where the drive-in nuts are to be set later. For bouldering walls, we recommend a hole pattern of 10 cm (required per square meter: 95 drive-in nuts or 15 cm (required per square meter: 45 drive-in nuts), with the second row being offset to the top row. Another variant is that you use exactly the same number of drive-in nuts use the way you have climbing holds. The disadvantage of this variant is that you have few screwing options on the wall. In addition, if the climbing wall is expanded for more drive-in nuts, the entire plates would have to be removed again.
After marking the locations for the drive-in nut, drill 12 mm holes there. The drive-in nut is driven into this from the back of the plate. For a better hold of the drive-in nut, please apply a special wood-metal adhesive to the nut.
Standard nuts for attaching climbing holds!
Eigenschaften und Montage
Eigenschaften:
- Werkstoff: Stahl verzinkt
- metrisches Innengewinde M10
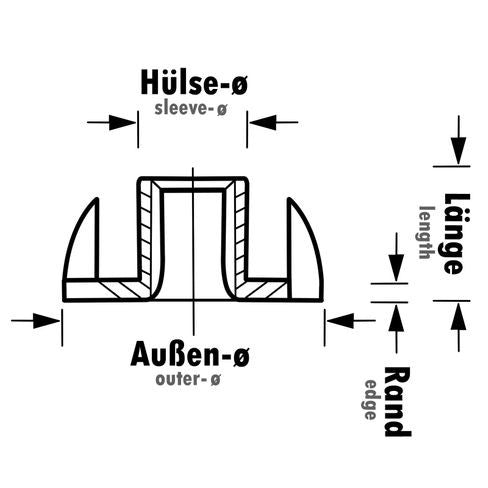
- dickwandige Ausführung (Plattenstärke ca. 2 mm)
- Mutternhöhe (inkl. Platte): ca. 12,0 mm
- erforderlicher Vorbohrdurchmesser: ca. 12 mm
- Befestigung der Spezial-Einschlagmutter mit 2 Spanplattenschrauben
(ca. 4 mm Durchmesser) - Befestigung der Klettergriffe mit einer gewöhnlichen M10 Schraube
Option mit Spanplattenschrauben,
Eigenschaften der Spanplattenschrauben:
- Vollgewindeschraube mit formschönen Pan Head Kopf zur universellen
Befestigung von Metallbeschlägen oder Halterungen aus Kunststoff in Holz
im trockenen Innen- oder Feuchtbereich - Ideale Kraftübertragung dank RW-Antrieb
- Mehr Power durch größere Kontaktfläche am Bit
- Mehr Stabilität, einhändiges Arbeiten, punktgenaues Ansetzen durch
Steck-Effekt und perfekten Sitz des Bits - ASSY 4 PH Stahl verzinkt Vollgewinde Pan Head RW
- SHR-PANHD-HO-RW20-(A3K)-5X20/18, ASSY
4 PH
Fazit:
Die Spezial-Einschlagmutter "PROFESSIONAL" bietet Ihnen eine
hochwertige Alternative zur normalen Einschlagmutter. Auch weist sie Vorteile
gegenüber anderen Spezial-Einschlagmuttern, die mit 4 Spanplattenschrauben
montiert werden, auf. Der Grund hierfür ist nicht nur der halbierte
Arbeitsaufwand bei der Befestigung der Spezial-Einschlagmutter
"PROFESSIONAL", sondern auch ihre Belastbarkeit. Denn die zwei Löcher
für die Spanplattenschrauben haben einen wesentlich größeren Durchmesser als
die vier Löcher in einer herkömmlichen Spezial-Einschlagmutter. Dadurch können
bei der Montage der "PROFESSIONAL" dickere Schrauben verwendet
werden, wodurch Ihre Klettergriffe den optimalen Halt bekommen.
Montage
Als ersten Schritt legen Sie ein Raster an und markieren alle Stellen, wo später die Einschlagmuttern gesetzt werden sollen. Für Boulderwände empfiehlt sich ein Lochraster von 10 cm (Bedarf pro qm: 95 Einschlagmuttern oder 15 cm (Bedarf pro qm: 45 Einschlagmuttern), wobei jeweils die zweite Reihe versetzt zur oberen Reihe ist. Eine andere Variante ist, dass Sie genau so viele Einschlagmuttern verwenden, wie Sie Klettergriffe haben. Der Nachteil an dieser Variante ist, dass Sie wenig Umschraubmöglichkeiten an der Wand haben. Zudem müssten bei einer Erweiterung der Kletterwand für mehr Einschlagmuttern, die ganzen Platten wieder abmontiert werden.Nachdem markieren der Stellen für die Einschlagmutter, bohren Sie dort 12 mm Löcher. In diese wird die Einschlagmutter von der Rückseite in die Platte eingeschlagen. Für einen besseren Halt der Einschlagmutter, tragen Sie bitte einen speziellen Holz-Metall-Kleber auf die Mutter auf.